One of the fun things about being a beekeeper in a northern climate is the annual winter recess. It’s an opportunity to relax a little, evaluate last year’s mistakes and successes, plan the next year, and make stuff. And there are plenty of things to make. Hives, hive stands, fondant, and bee club presentations are all things I end up spending at least a little time on each winter. But the most fun winter project for me is making candles. I get all my capping wax cleaned and melted into blocks in the summertime using a homemade solar melter; that means I can spend a pleasant weekend each winter transforming that clean material into candles—an underrated product of the hive, if you ask me.
Below is a basic how-to for making candles out your beeswax, with links to some of the items you’ll need. Before you get started, I highly recommend you watch this great video by Booger Hill Bee Company. He does a first-rate job explaining his process.
How To Make Beeswax Candles
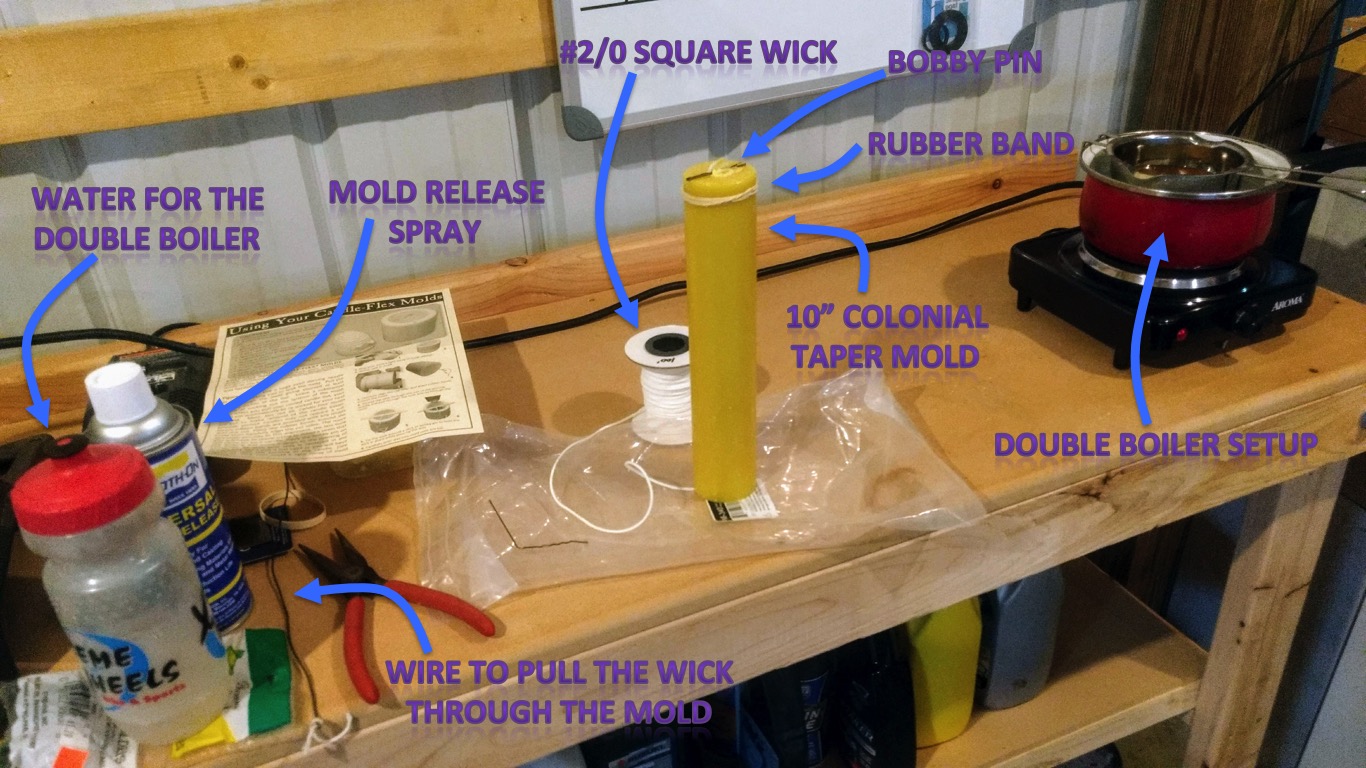
Step 1: Use a double-boiler and burner to melt your wax. If the top pot on your double-boiler doesn’t have a good pouring lip, you’ll also need a pouring pot for filling your molds. (TIP: Don’t use the same pots you use to cook food. Instead, go to a thrift store and find used pots for pennies on the dollar.)
Step 2: Thread your wick through the candle mold. For the 10” colonial tapers shown here, you need #2/0 square wick. There are special needles available to thread wicks through shorter molds; however, tall molds like these tapers may require you to pull the wick through with a piece of wire. Slide the end of the wick into a bobby pin, pull it snug, and center it in the mold. (TIP: Different types of candles require different types of wicks, so be sure you buy the correct wick for your chosen mold.)
Step 3: Put a couple short blasts of mold release spray into your mold.

A finished 10-inch colonial taper candle
Step 4: Put a rubber band around the top of your mold (which is really the bottom of the candle). These molds have slits that allow you to remove the candle after it’s cooled, so the rubber band ensures these slits are closed tightly and evenly.
Step 5: Pour your melted wax into the mold, filling it to the top. The wax may shrink a bit as it cools, resulting in a “pothole” at the top of the mold. I typically come back and fill this hole with more wax to make sure I don’t have hollow bases on my candles.
Step 6: Remove the candle from the mold. Once your candle is completely cooled (I go away and do other things, and then come back in about an hour), remove the rubber band. Pull the mold apart at the splits, grab the wick at the top of the mold (bottom of the candle) and firmly pull it straight out.
Step 7: Reset for the next candle. When you pull the candle from the mold in Step 6, you’ll also pull a new section of wick through the mold (this is great, because you don’t have to use the wire to thread wick for each candle). Use scissors to cut the wick so there’s 1/2 inch sticking out the top of the candle. Carefully pull the bobby pin out of the finished candle and attach it to the new section of wick. Then simply repeat the process starting at Step 3!
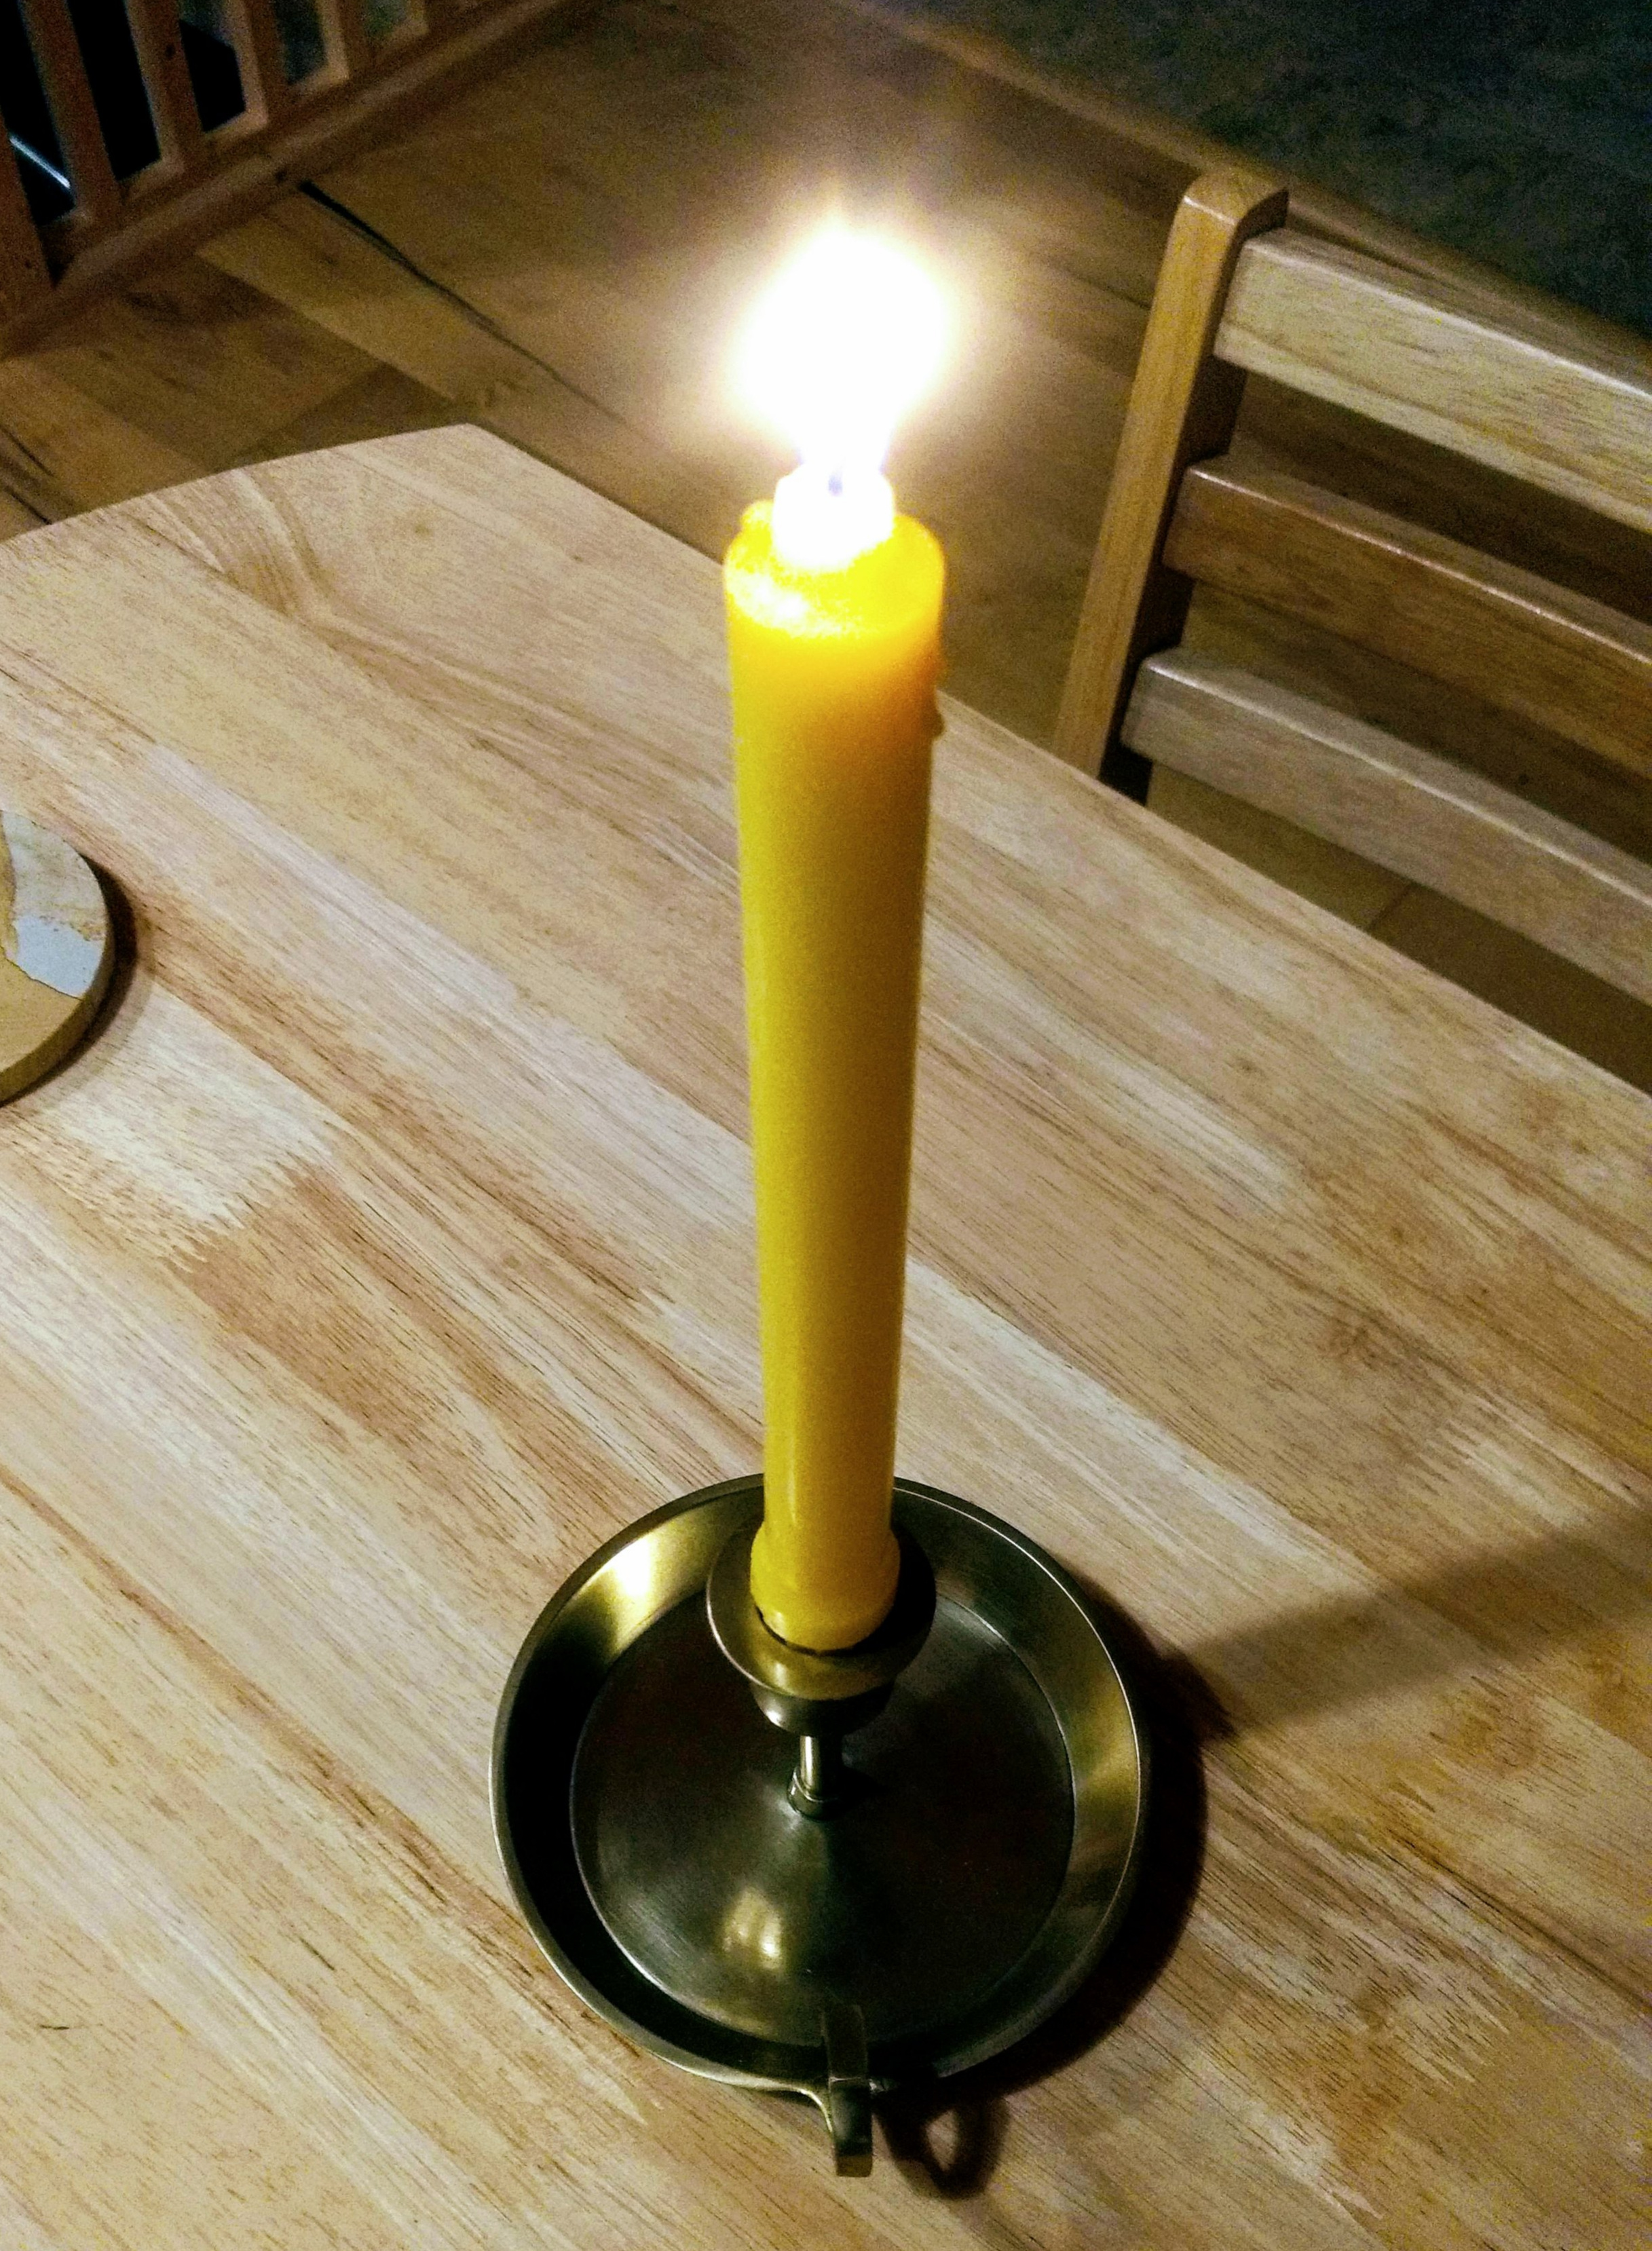
10 hours of homemade light
I find these colonial tapers to be perfect for home use, as they throw good light and burn for about 10 hours. Plus, in my opinion, they have a traditional, classy aesthetic that can’t be matched by tea lights, animal molds, etc. Each candle uses less than 3 oz of wax, so even hobby beekeepers have enough wax most years to make candles for gifts, emergency lighting, table settings, or to burn on cold winter nights while they’re planning the next beekeeping season.